10 Tips for Finding Quality Clothing at Thrift Stores

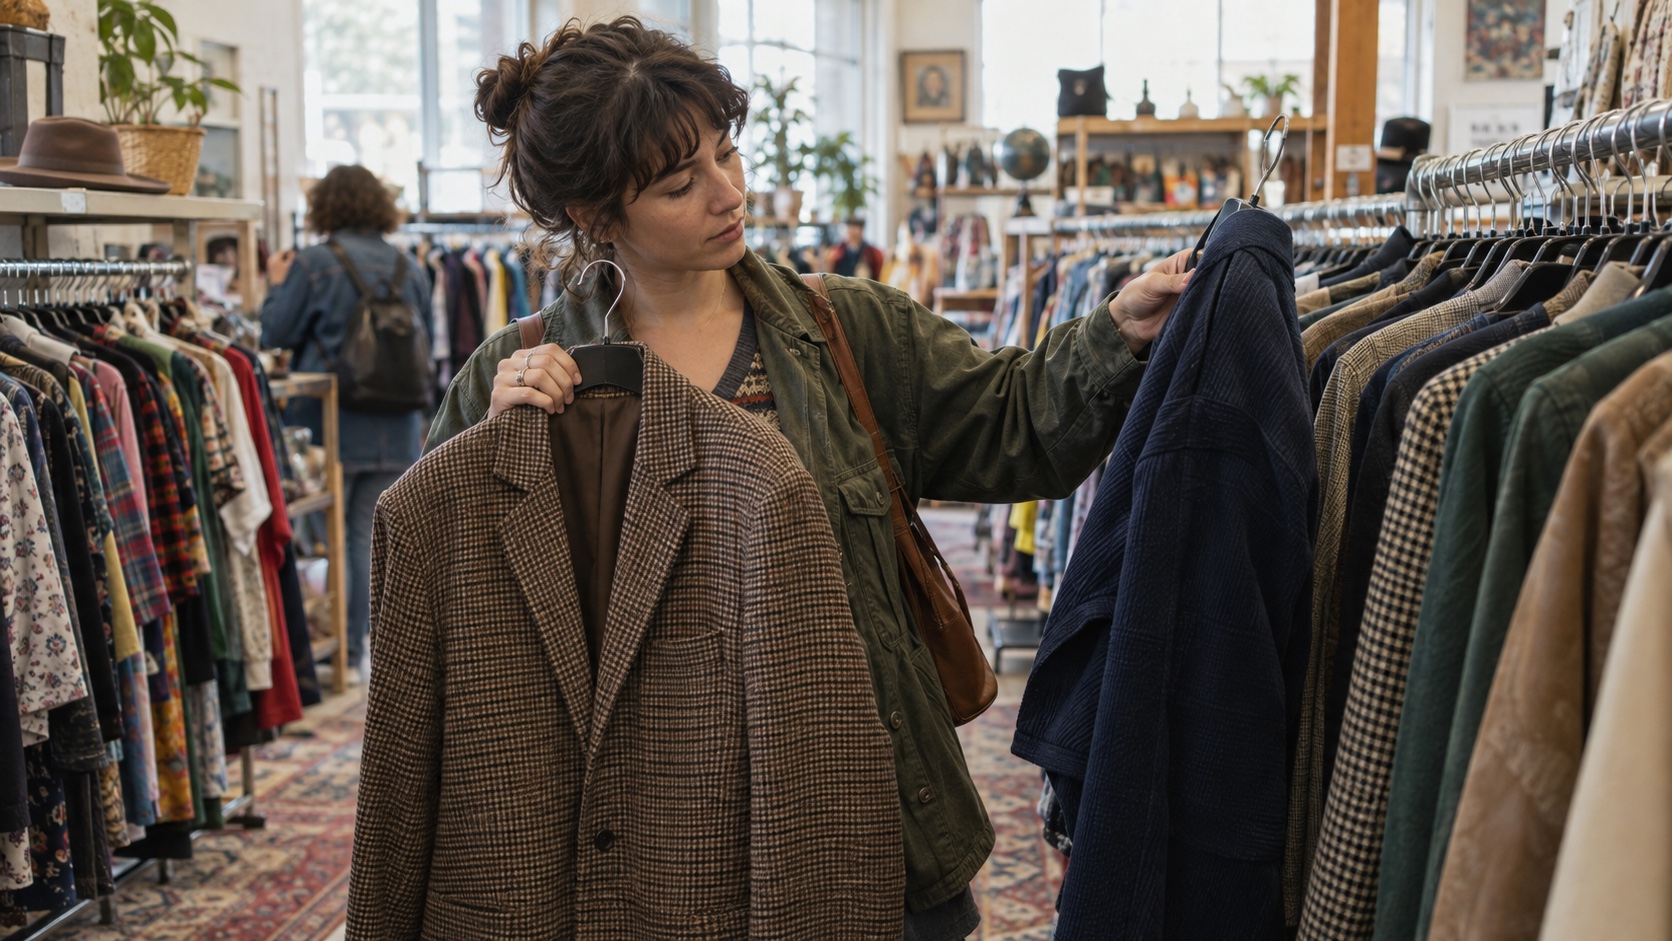
The best way to find quality clothing at thrift stores is to use the same short inspection every time: read the labels, judge the fabric's present condition, test every closure, check fit and alterations, then turn the garment inside out to inspect its seams. Country of origin, fiber content, age, and brand can provide clues, but none proves quality by itself.
These ten tips follow the order a practical shopper can use, from choosing where and when to browse to making the final construction check. This is a workflow, not a claim that every thrift store stocks the same clothes. Your best find is a garment that fits your life, survives close inspection, and has care requirements you can realistically handle.
1. Check the Country of Origin
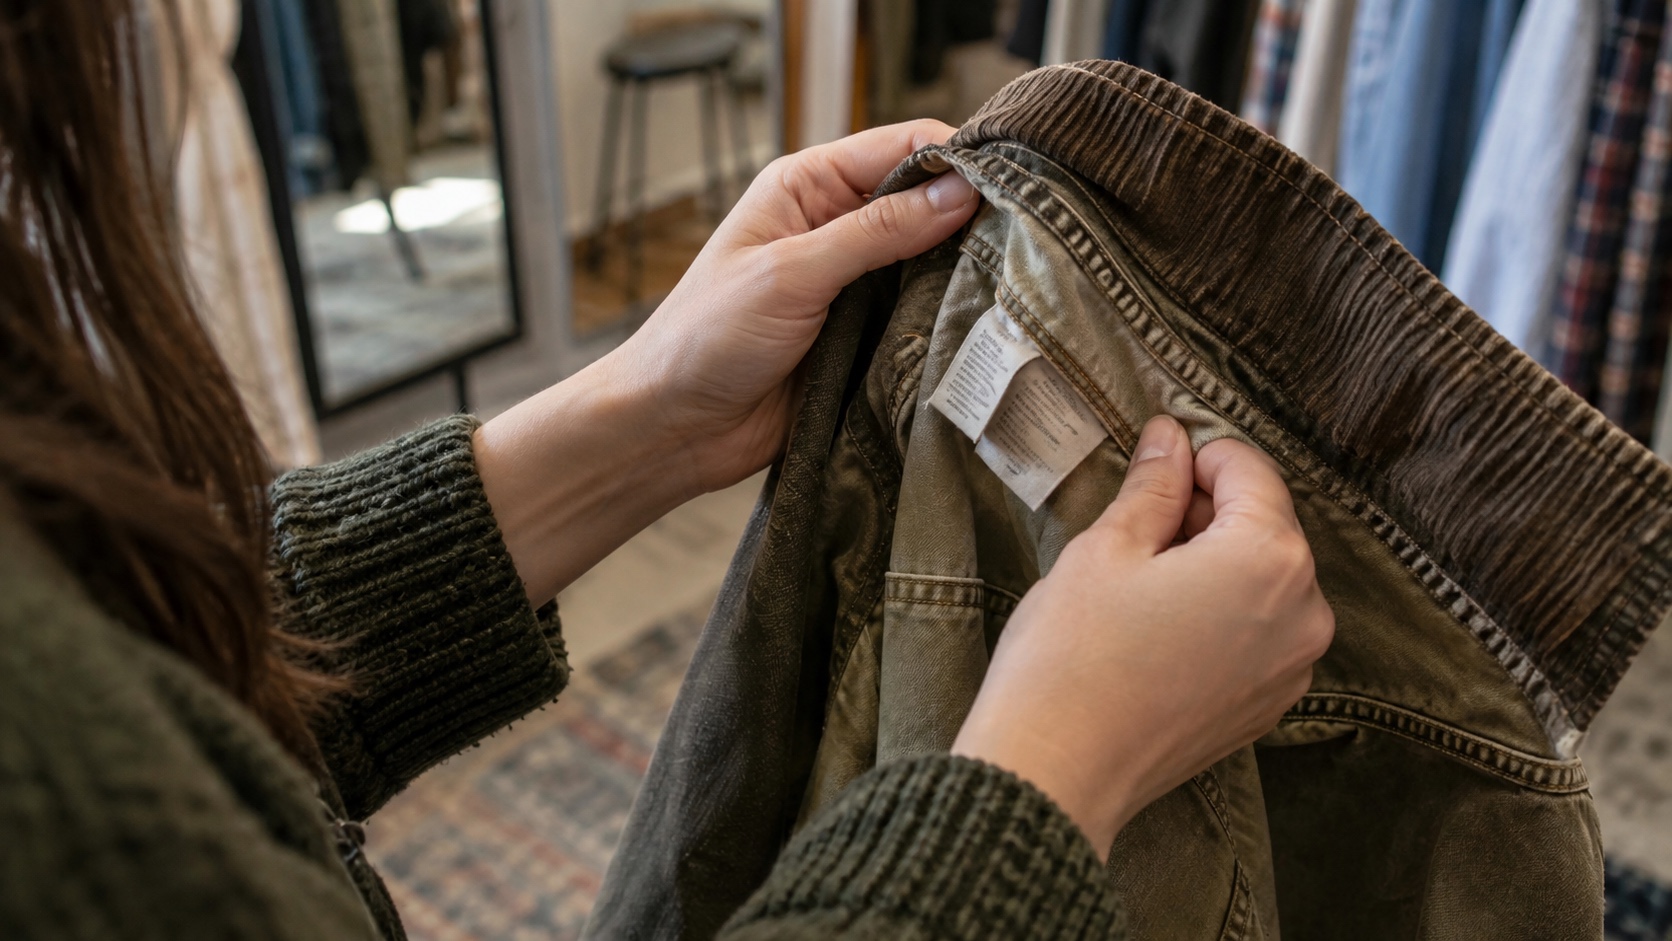
Best for: identifying where a garment was manufactured and gathering context about its label. In the United States, the FTC says most textile and wool products must disclose fiber content, country of origin, and the responsible business. That makes the label useful evidence, especially when you are researching vintage clothing.
It is not a quality grade. A U.S., Italian, French, Hong Kong, or Chinese origin does not tell you whether the fabric is durable, the seams are secure, or the previous owner cared for the item. Be skeptical of neat “made in” dating rules, too: labels and supply chains overlap across decades. Read the tag, then judge the actual clothing in your hands. The FTC's textile-labeling guide explains what the disclosures mean.
2. Know Your Fabrics
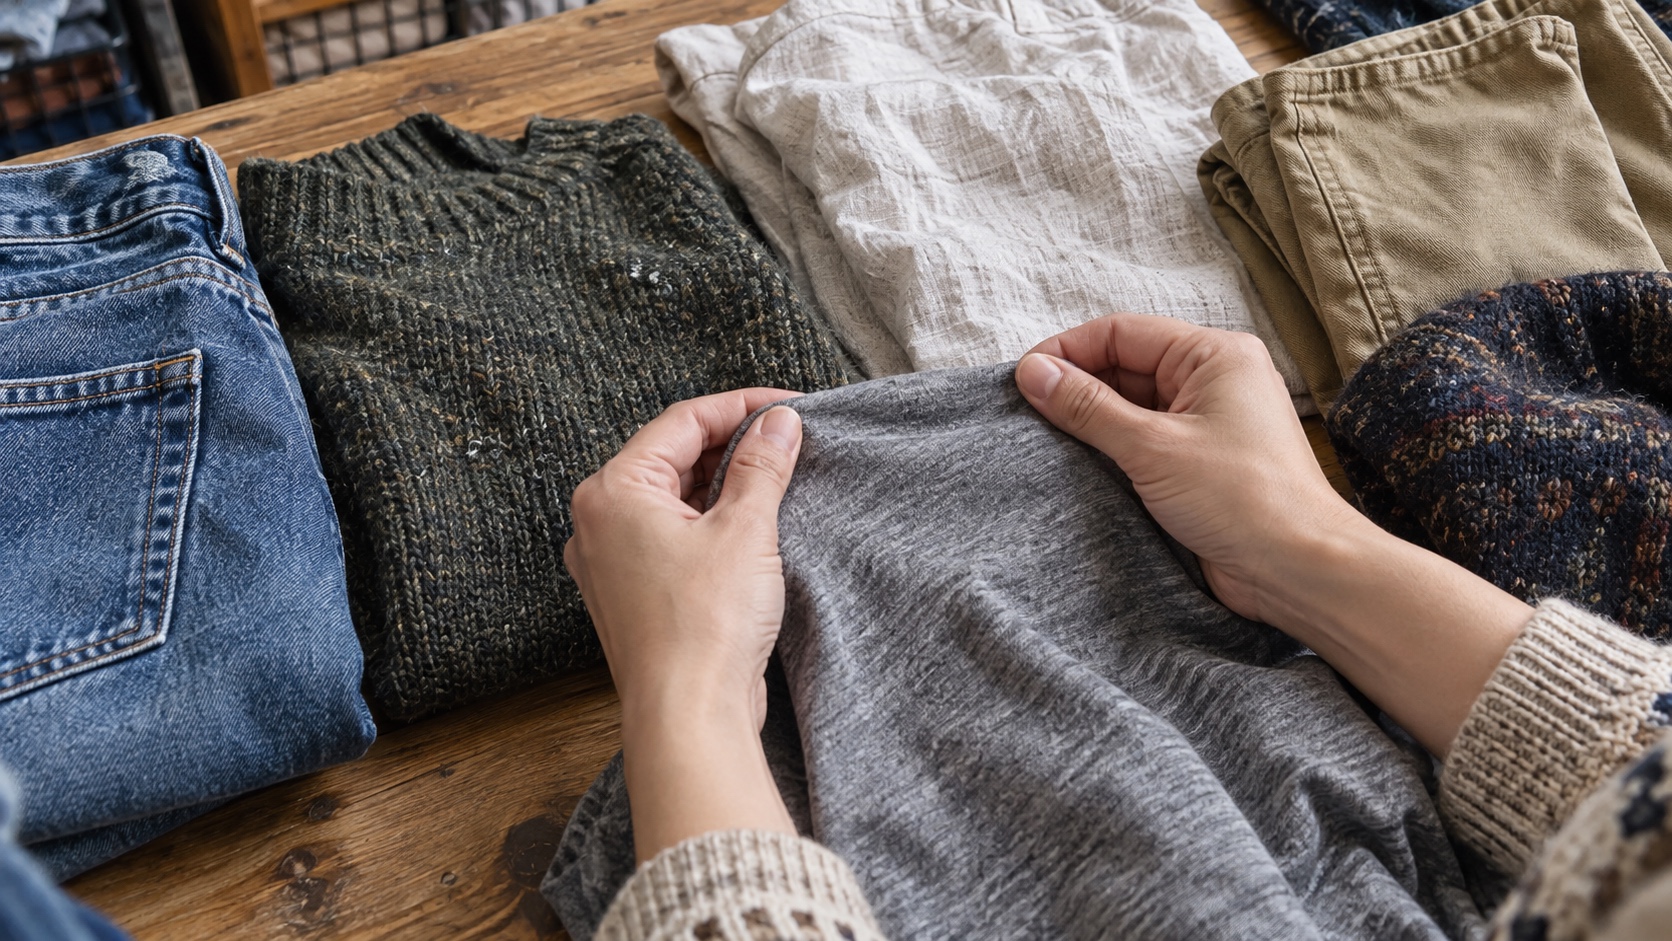
Best for: matching a garment's feel and care needs to how you will wear it. Cotton, linen, wool, silk, polyester, nylon, acrylic, and elastane all have useful applications. Natural does not automatically mean durable, and synthetic does not automatically mean cheap. A dense polyester work dress may outlast a delicate cotton knit; a fine wool sweater may be excellent but demand careful storage.
Read both the fiber and care labels, then inspect what years of wear have already done. Look for thinning at elbows and thighs, broken stretch, permanent shine, pilling, snags, fading, and odors that remain after airing. Gently scrunch and release the fabric to see how it recovers. If underwear fabrics are part of your comparison, our nylon vs. cotton guide explains why comfort, moisture, construction, and use matter more than a simplistic natural-versus-synthetic rule.
3. Get There Early and Go Often
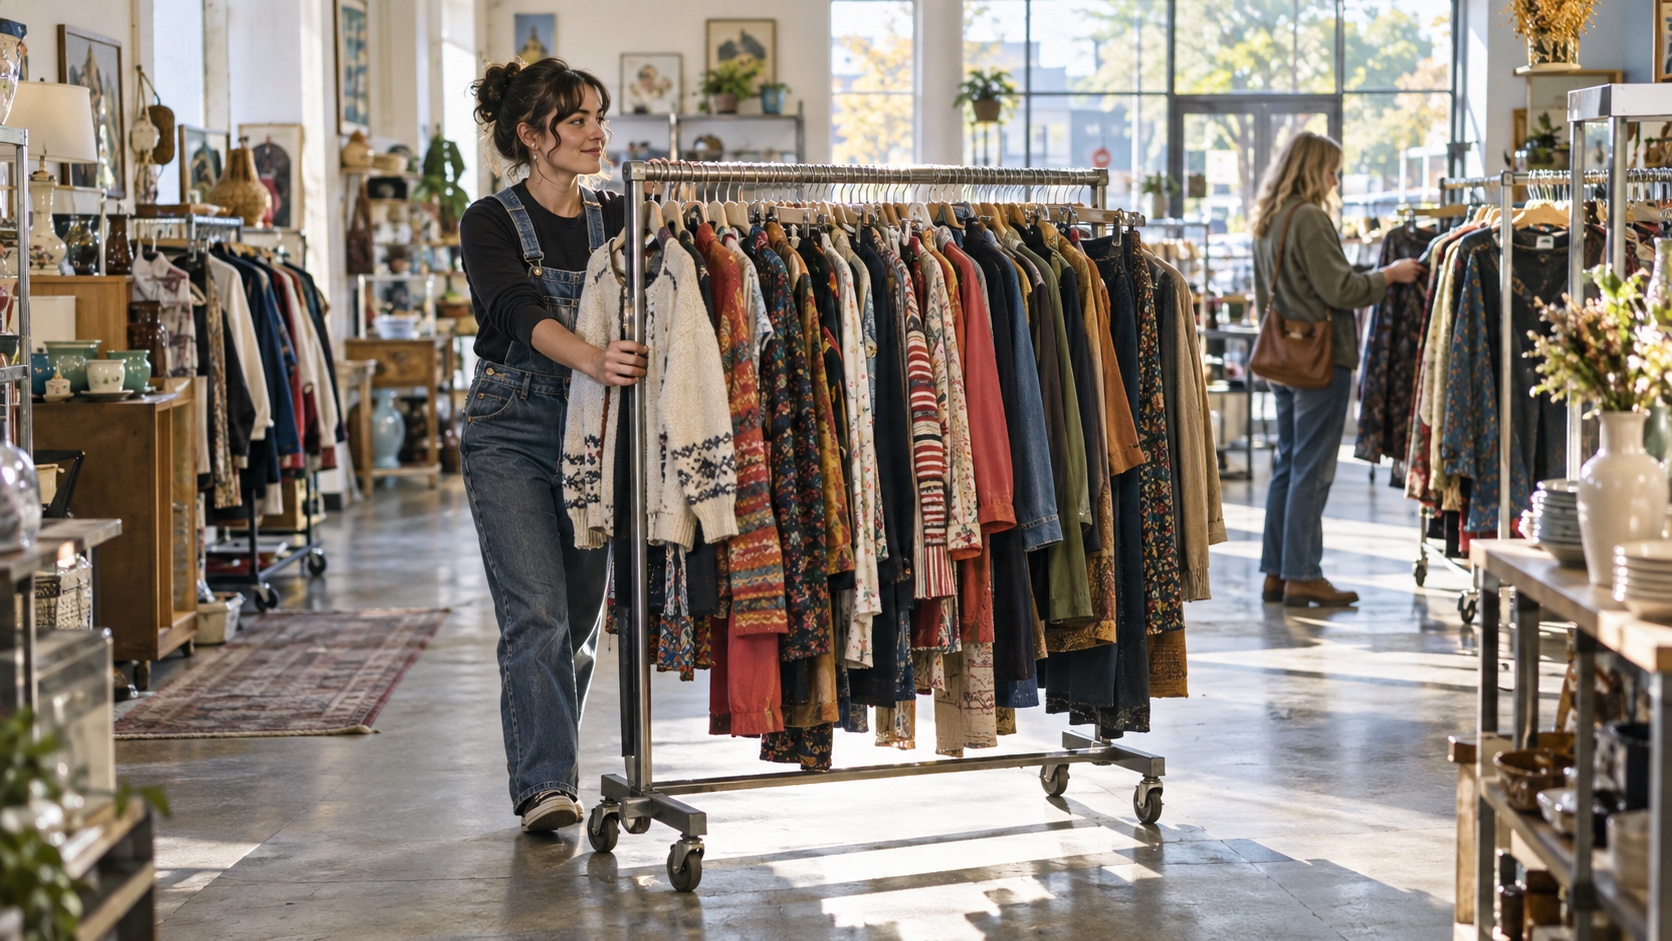
Best for: stores with frequent stock rotation and shoppers who can visit without wasting a special trip. More visits expose you to more inventory, but there is no universal best hour. Some stores restock before opening, others add clothing throughout the day, and some process donations on a weekly schedule.
Ask an employee when new racks usually appear, then choose a schedule that fits your route. A ten-minute stop near work can be more sensible than driving across town at opening. Going often improves opportunity, not garment quality, so keep the same inspection standards even when a fresh rack creates urgency. If a piece needs too much justification because someone else might grab it, leave it.
4. Hit Up the Independent Stores
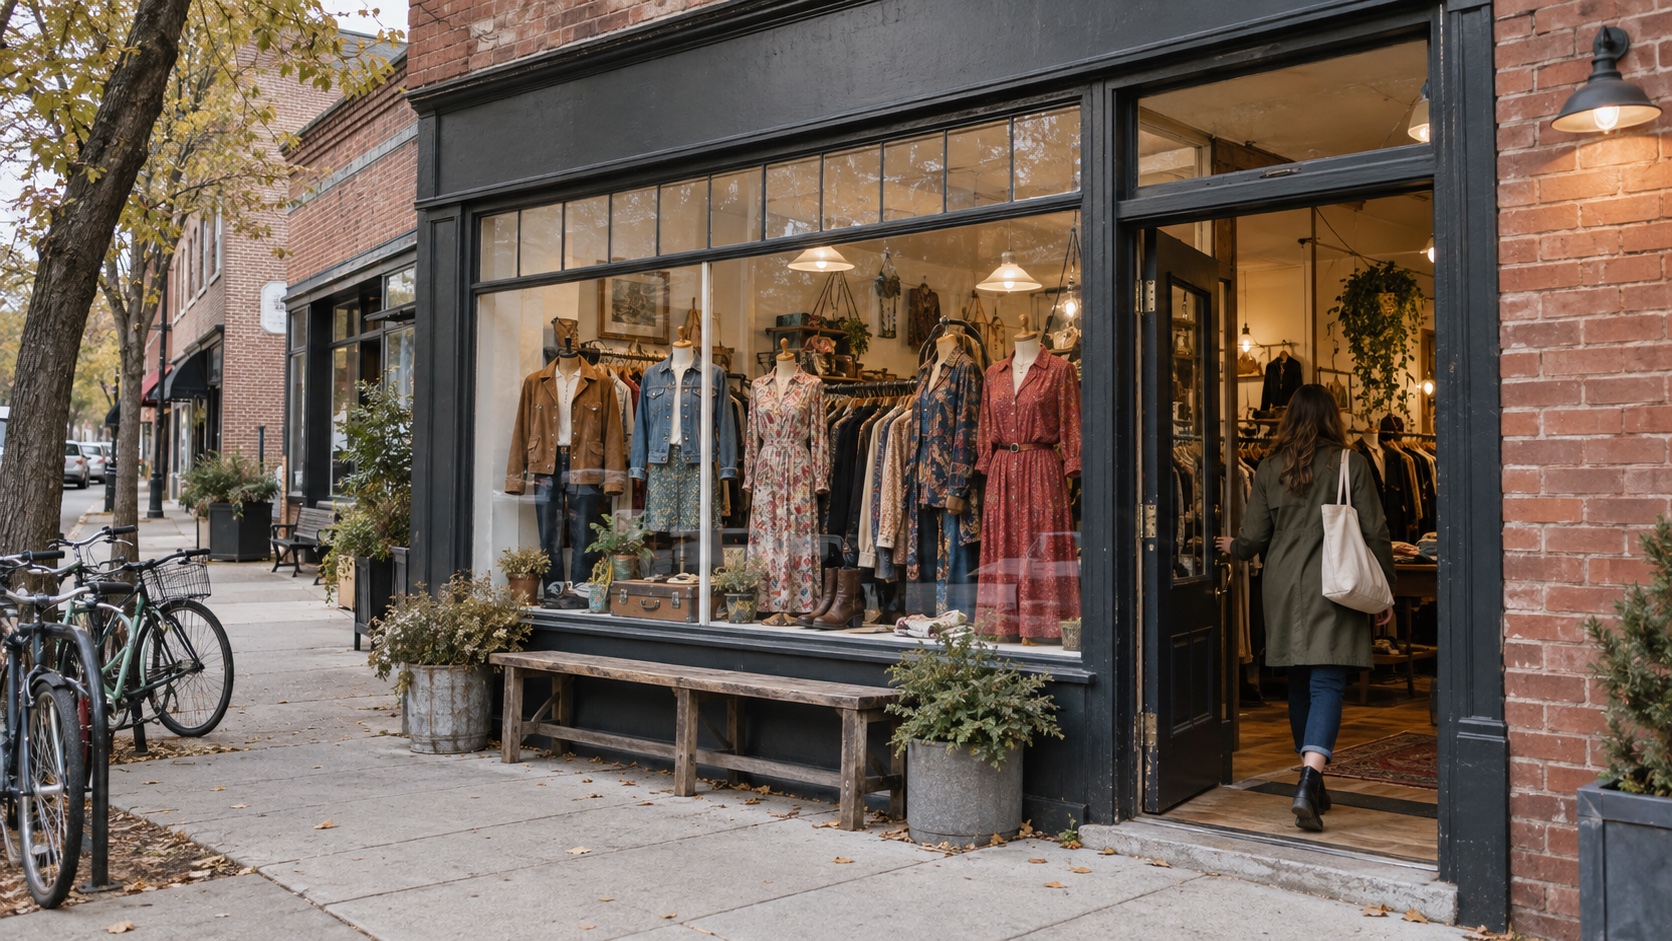
Best for: expanding the mix of sizes, eras, brands, prices, and donation sources you see. Independent charity shops, church rummage stores, consignment stores, chains, and vintage dealers can each receive different clothing. A smaller shop may curate tightly; a large chain may offer more volume. Neither model guarantees a bargain.
Compare stores on useful criteria: turnover, fitting-room access, return policy, organization, pricing, and whether damaged clothing is clearly marked. Consignment and vintage shops may do more sorting but charge for it. A neighborhood thrift store may be less picked over—or simply have fewer pieces. Build a small circuit and let repeated results, not the sign over the door, decide where your time goes.
5. Look Through Everything
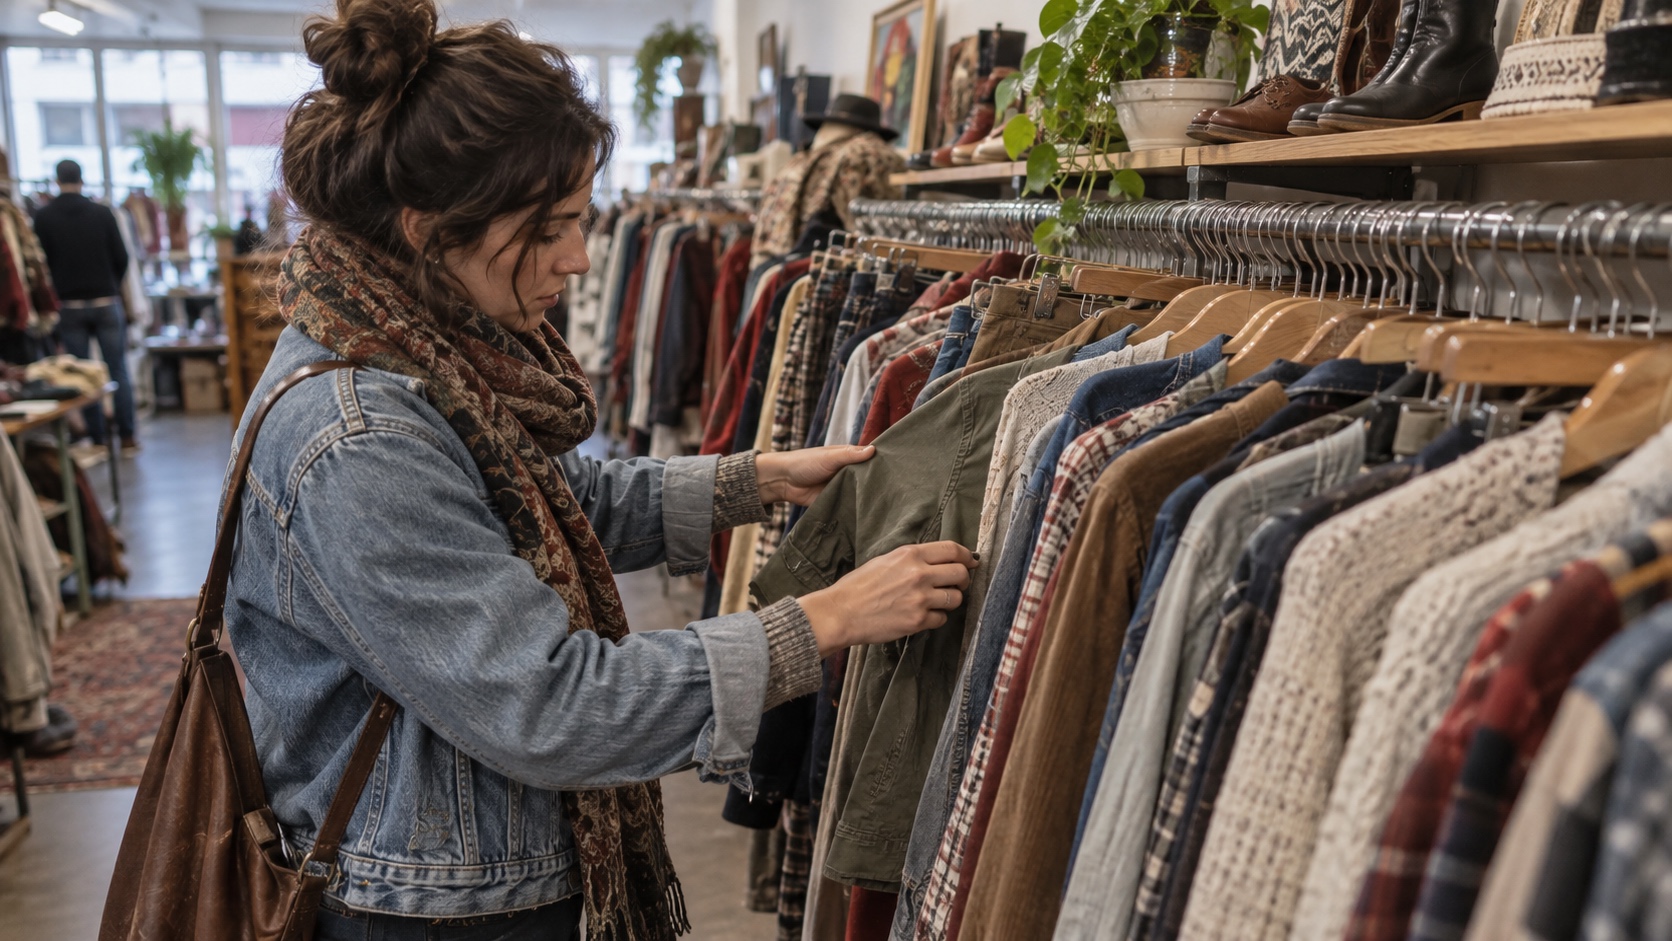
Best for: crowded racks where good pieces are hidden under the wrong size, category, or hanger. Scan color and silhouette first, then move hangers one at a time. Check the front, back, cuffs, collar, underarms, seat, knees, and hem on anything that survives the first pass. Those high-friction areas reveal wear faster than a neckline glance.
“Everything” should mean everything relevant, not an hour in every aisle. Start with a list of gaps in your wardrobe and a maximum number of sections. Search adjacent sizes because secondhand measurements can differ from the tag after washing, tailoring, or brand variation. Before buying, view pale fabrics near a window or under brighter light; dim retail lighting can hide yellowing and faint stains.
6. Test Zippers and Snaps
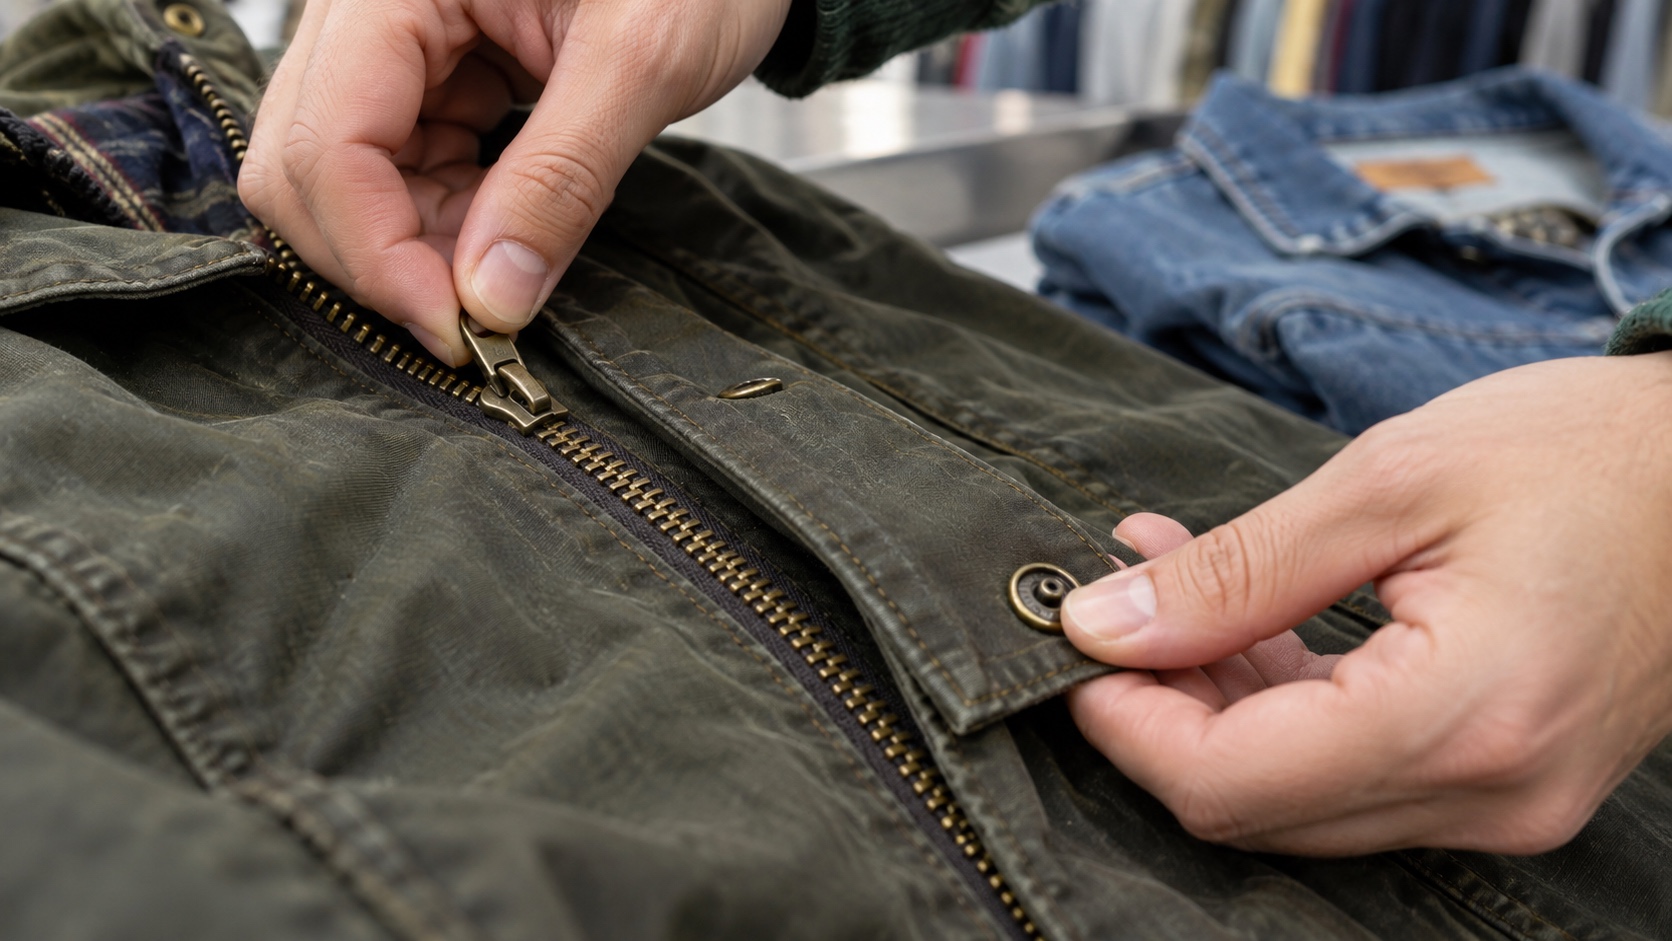
Best for: jackets, jeans, dresses, bags, and any garment whose usefulness depends on a closure. Zip from end to end twice. The slider should engage cleanly, move without forcing, and stay closed when the fabric is gently tensioned. Press each snap, button each button, and check hooks, drawstrings, buckles, and elastic while you are there.
Metal is not automatically better than plastic. A sturdy molded plastic zipper can be appropriate for outerwear, while a damaged metal zipper can be costly to replace. Judge the whole assembly: missing teeth, bent stops, a loose slider, torn zipper tape, puckered fabric, and weak stitching matter more than material alone. Utah State University Extension's garment-construction guide likewise emphasizes a securely sewn zipper that operates smoothly.
7. Avoid Clothing That Has Been Altered
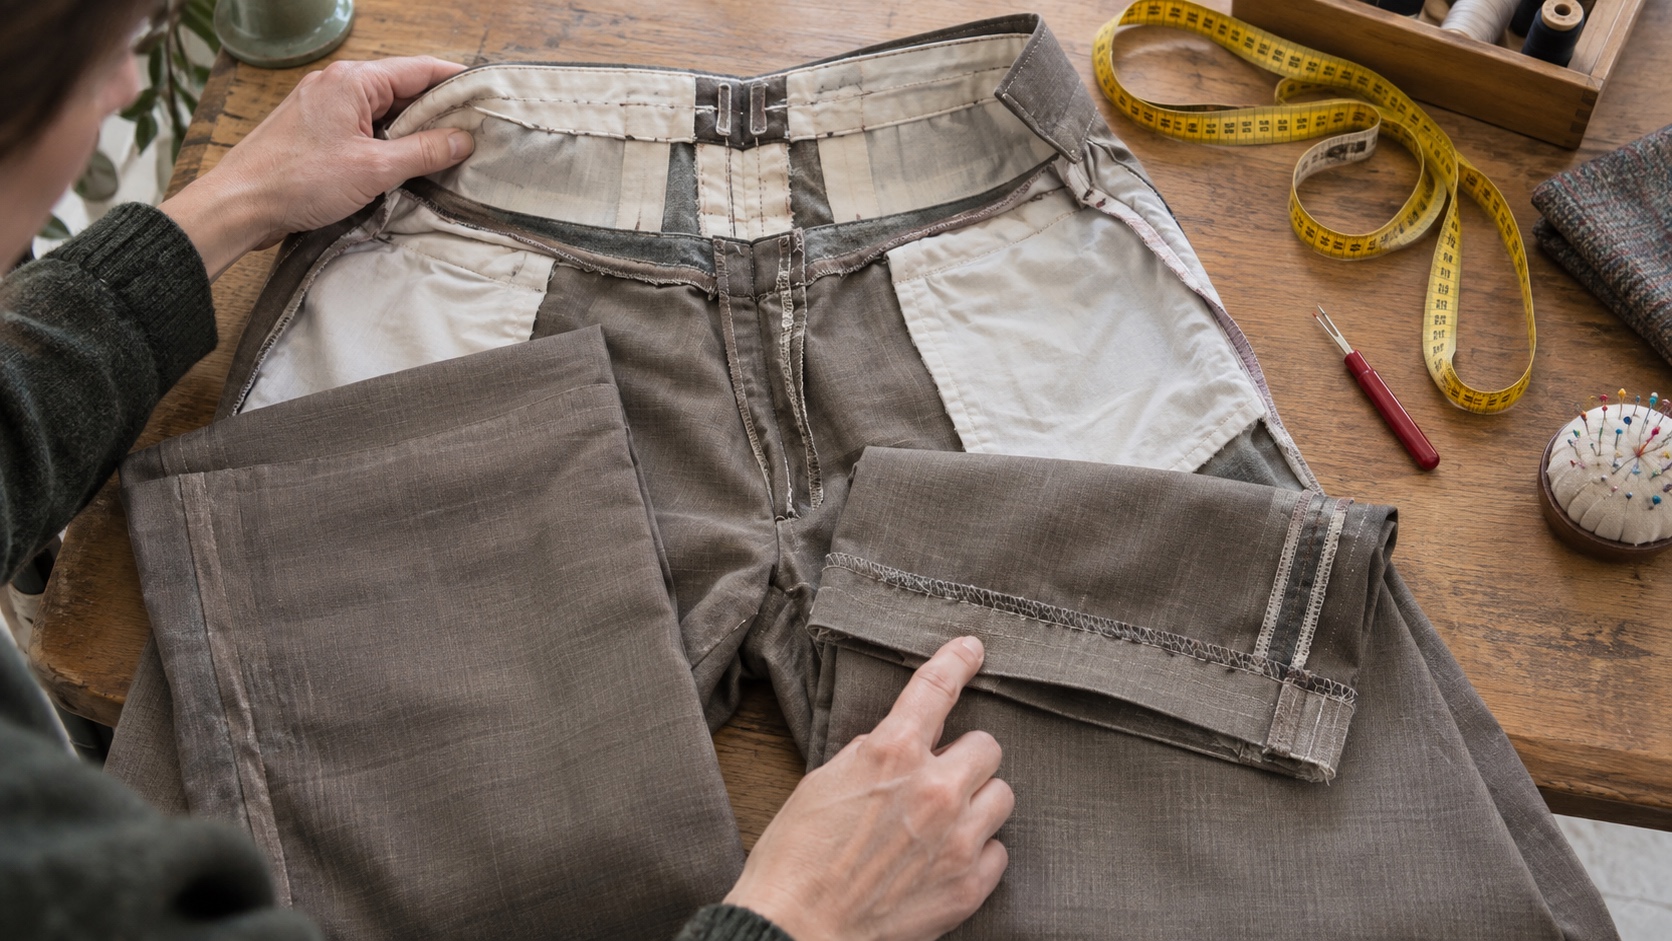
Best for: spotting fit surprises before you buy. Do not reject every altered garment. A well-executed hem or waist adjustment can turn a secondhand piece into a better fit, and visible extra seam allowance may allow another tailor to revise it. The real question is whether the alteration suits your body and the work is secure.
Compare both legs and sleeves, follow side seams from top to bottom, and look for uneven hems, twisted grain, puckering, clipped seam allowances, mismatched thread, or needle marks from released stitching. Try the garment on and move: sit, reach, bend, and fasten it. If fitting rooms are closed, bring your measurements and a tape. Price any likely tailoring before deciding that an almost-fit bargain is cheap.
8. Look Out for Hanger Bumps
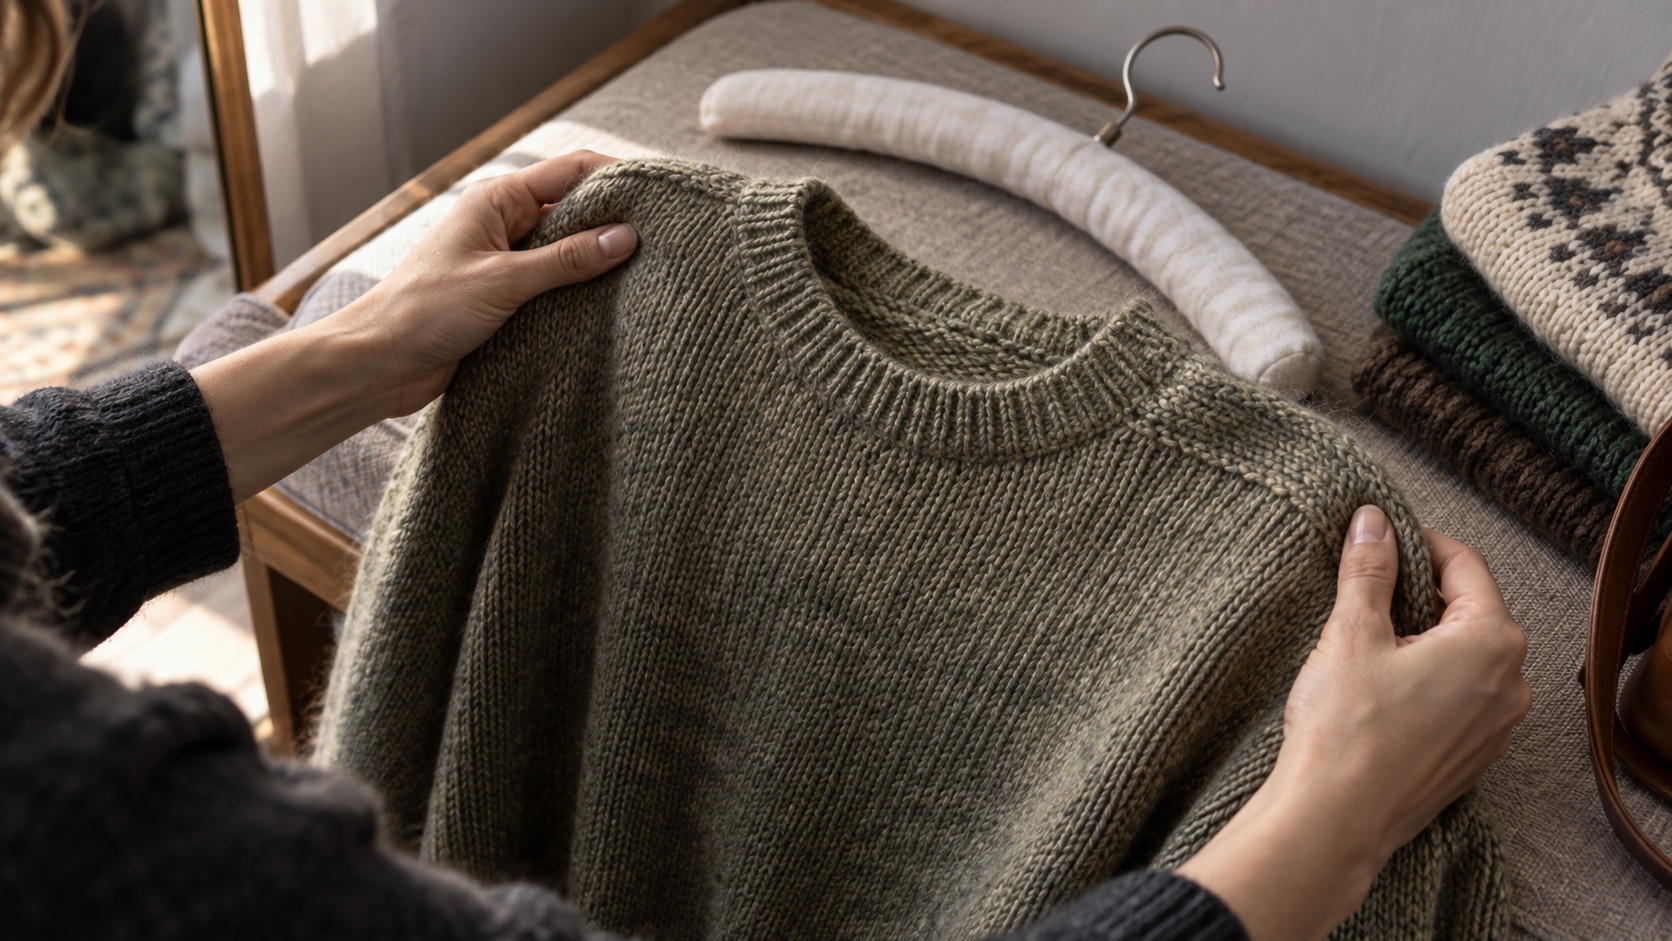
Best for: sweaters, knit dresses, and soft tops that may have stretched while hanging. Shoulder points can be temporary shaping from a narrow hanger, but they can also accompany stretched yarn or a distorted neckline. Lay the garment flat, compare both shoulders, and see whether the knit returns when gently reshaped.
A small bump is not always a reason to walk away. Consider the fiber, knit density, care label, and whether the area shows thinning or broken yarn. Avoid aggressive stretching in the store. If the garment passes the rest of the inspection, store most heavy knits folded rather than hanging them from narrow shoulders. Budget the shelf space honestly: “quality” includes being able to care for the clothes you own.
9. Know Which Sections to Shop and Which Ones to Avoid
Best for: focusing limited time without accepting someone else's blanket rules. There is no universally high-success dress section or low-success sweater section. The strongest area depends on local donations, climate, store sorting, your size, your wardrobe, and how much repair you are willing to do.
Start with pieces that are expensive new and easy to inspect: coats, overshirts, sturdy denim, simple dresses, and woven shirts can be productive, but only when condition and fit work. Give shoes extra scrutiny for uneven sole wear, compressed insoles, cracking, odor, and missing size information. Treat intimate apparel according to your own hygiene boundaries and the store's policy. Track what you actually find over several visits; your results are better evidence than a viral “never shop this aisle” list.
10. Inspect Seams and Stitching
Best for: the final decision, because construction problems can turn an attractive garment into a repair project. Turn the clothing inside out. Look for straight, secure stitching; finished raw edges where the fabric frays; flat seams without holes or severe puckering; intact hems; reinforced stress points; and enough seam allowance around alterations.
Gently spread a seam under bright light. A small amount of thread visibility may be normal in loose or delicate fabric, so do not apply one rule to every textile. What matters is broken thread, widening holes, fraying beyond the finish, or fabric pulling away from stitches. Check lining, pockets, belt loops, buttonholes, and underarms. If you want more context on why garment details changed over time, see our fact-checked shirt history.
Your 60-second final check
- Does it fit while you move, not just while you stand still?
- Are stains, odor, thinning, pilling, and damage acceptable at this price?
- Do the zipper, snaps, buttons, pockets, and elastic work?
- Are the seams secure and any alterations suitable?
- Can you follow the care label with the time, storage, and equipment you have?
Then ask the question that prevents the most clutter: would you choose this garment if it were not scarce? If the answer is yes and it passes the inspection, you have found quality secondhand clothing for your needs. Once it is home, follow the care label rather than a universal laundry hack; our guide to laundry tips that actually help explains where common shortcuts go wrong.
Sources and review date
Reviewed September 22, 2026. Label requirements were checked against Federal Trade Commission guidance. Construction checks were compared with Utah State University Extension garment-evaluation guidance. Store timing, inventory, return policies, fit, and repair economics vary, so confirm them locally before buying.