12 Laundry Hacks That Actually Help—and What to Skip

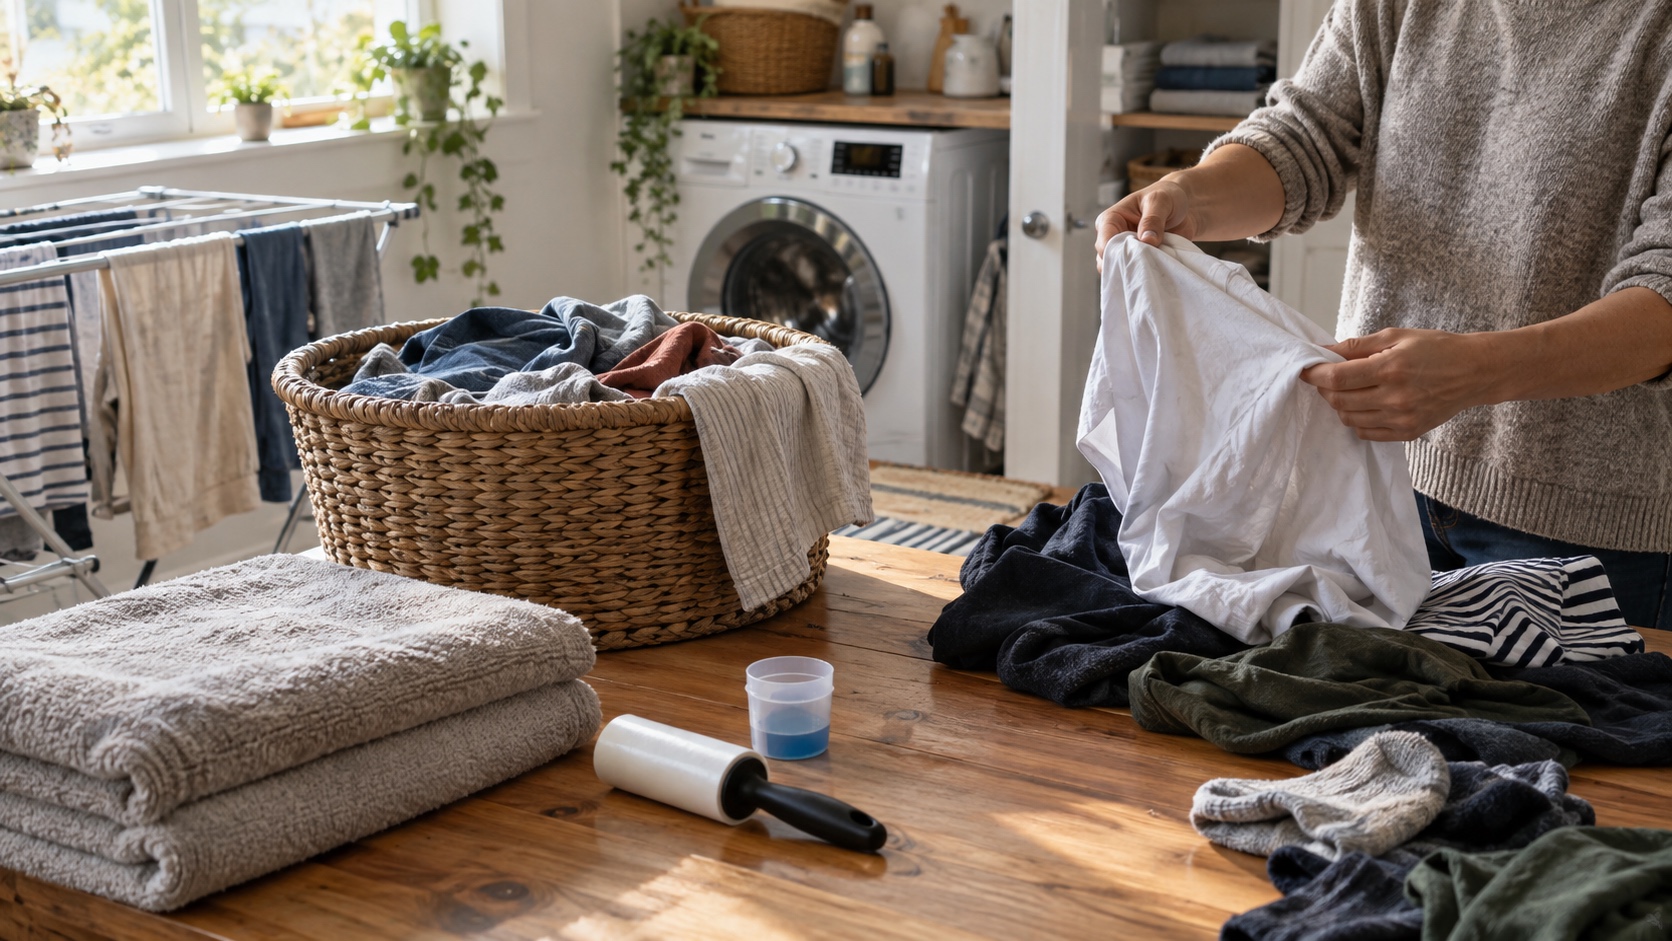
The laundry hacks that make the biggest difference are not mystery mixtures. They are low-risk habits: remove clothes promptly, measure the detergent, keep unstable colors apart, remove pet hair before washing, and match each stain treatment to the fabric. The twelve ideas below are ordered from broadly useful routine fixes to more situational stain jobs.
We ranked these tips by four editorial criteria: how often the problem occurs, how much effort the fix saves, how widely it works across ordinary washable clothes, and how low the risk is when you follow the label. A hack moves down the list when it applies to only one type of stain or needs extra colorfastness testing. You do not need to be a laundry pro to improve your laundry game; you need a repeatable process and a willingness to stop when a garment says “dry clean only.”
Before you try any laundry hack
The sewn-in care label outranks a general internet tip. The Federal Trade Commission requires U.S. garment makers and importers to provide regular care instructions and warnings with a reasonable basis. Check the fiber, wash temperature, bleach, drying, and ironing directions before adding a treatment. If a method is not clearly compatible, test it on a hidden seam or use a professional cleaner for a valuable or delicate piece.
Keep cleaning products in their original containers and follow their labels. Never mix household bleach with another cleaner or disinfectant; the Centers for Disease Control and Prevention warns that dangerous vapors can result. More chemistry is not automatically more cleaning.
1. Remove clothes promptly and shake out wrinkles

Best everyday payoff: take clothes out when the cycle ends, give each washable item a firm but controlled shake, smooth the seams, and hang or fold it according to the care label. Fabric left compressed in a washer or dryer cools with creases in place. Prompt handling will not replace ironing for every shirt, but it prevents avoidable wrinkles without adding a product.
Do not “snap” delicate knits, embellished clothing, or anything that can stretch under its own wet weight. Reshape those items gently and dry them flat when instructed. If a tumble-dried garment still needs help, use the label-approved iron or steamer setting instead of assuming bathroom steam is safe or strong enough.
2. Measure detergent for the load and machine
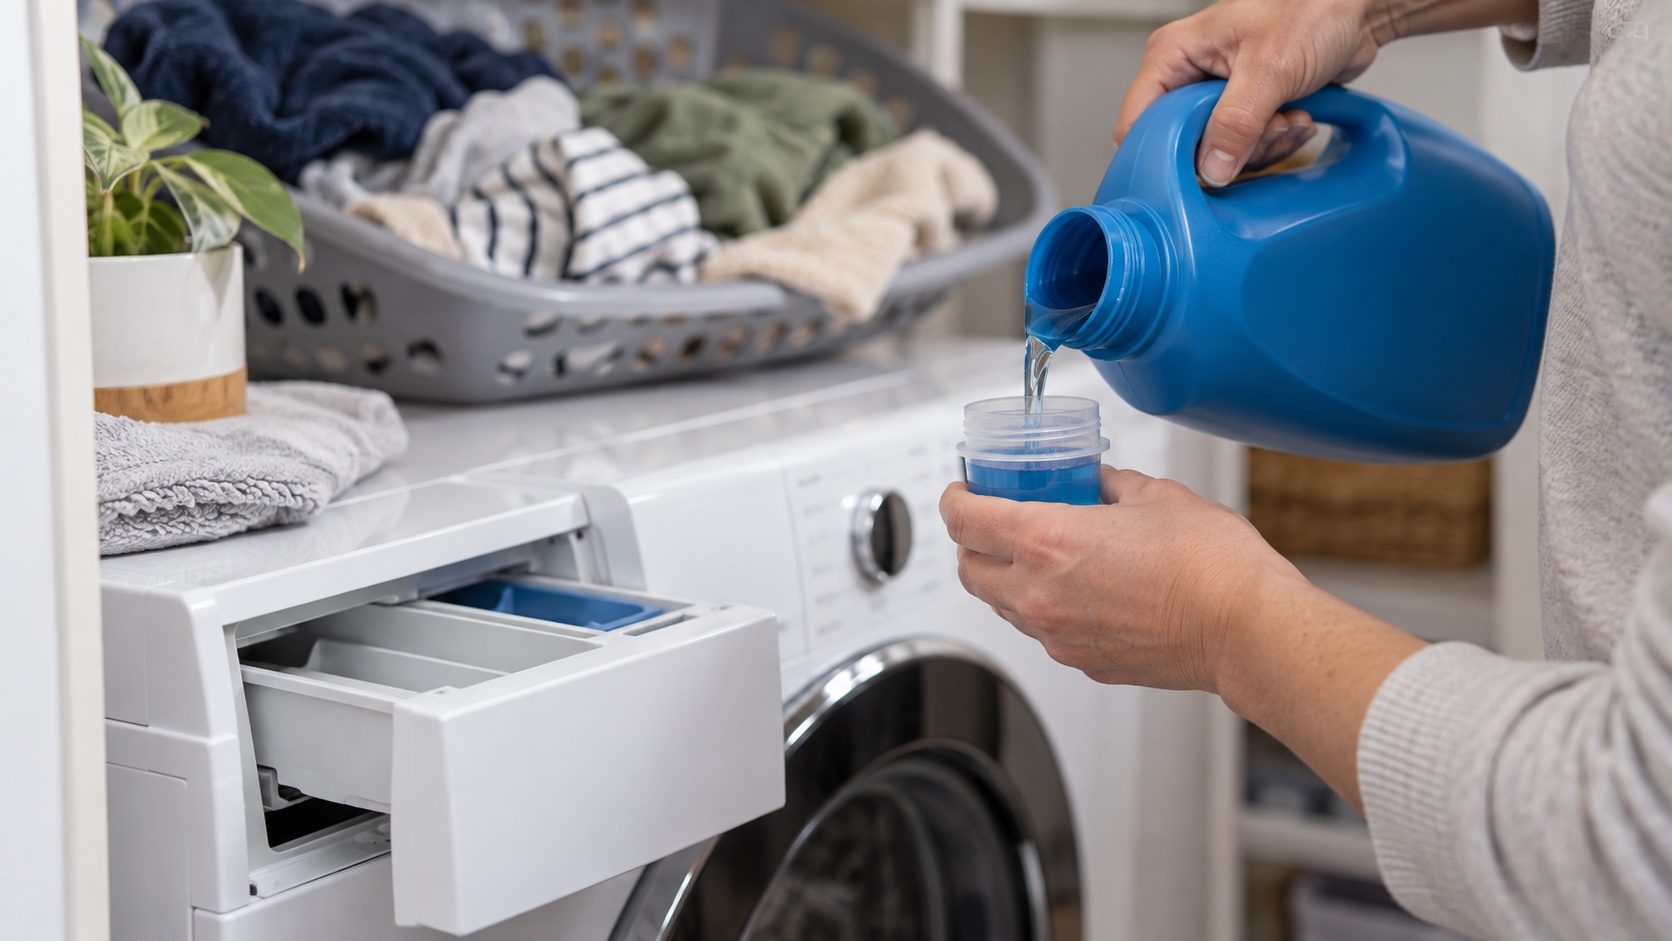
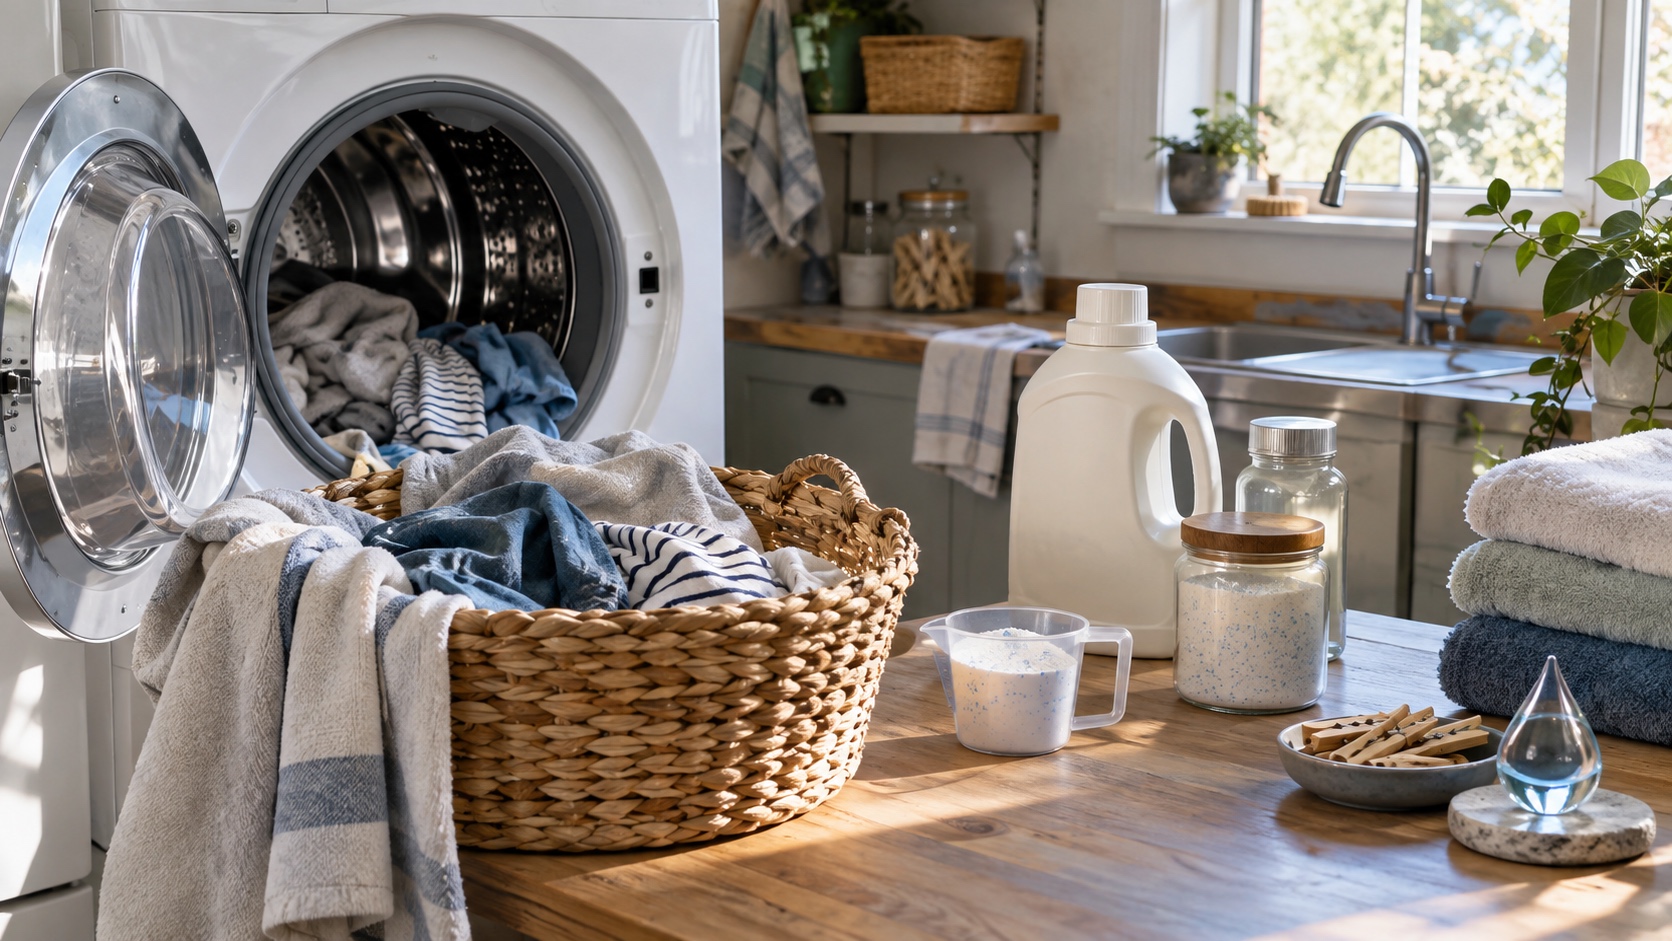
Best money-saving habit: use the detergent label and washer manual, not a cap filled by eye. The right dose depends on concentration, load size, soil level, water hardness, and machine type. High-efficiency washers need HE detergent when the manufacturer specifies it; a “low-sudsing” description is not a substitute for the HE mark and directions.
Too little detergent can leave soil behind, while too much can create residue or rinsing problems. Do not dilute a bottle merely to make it last longer unless its maker instructs you to. For a deeper look at surfactants, enzymes, and dosage, see our laundry detergent guide.
3. Sort new, dark, and saturated colors
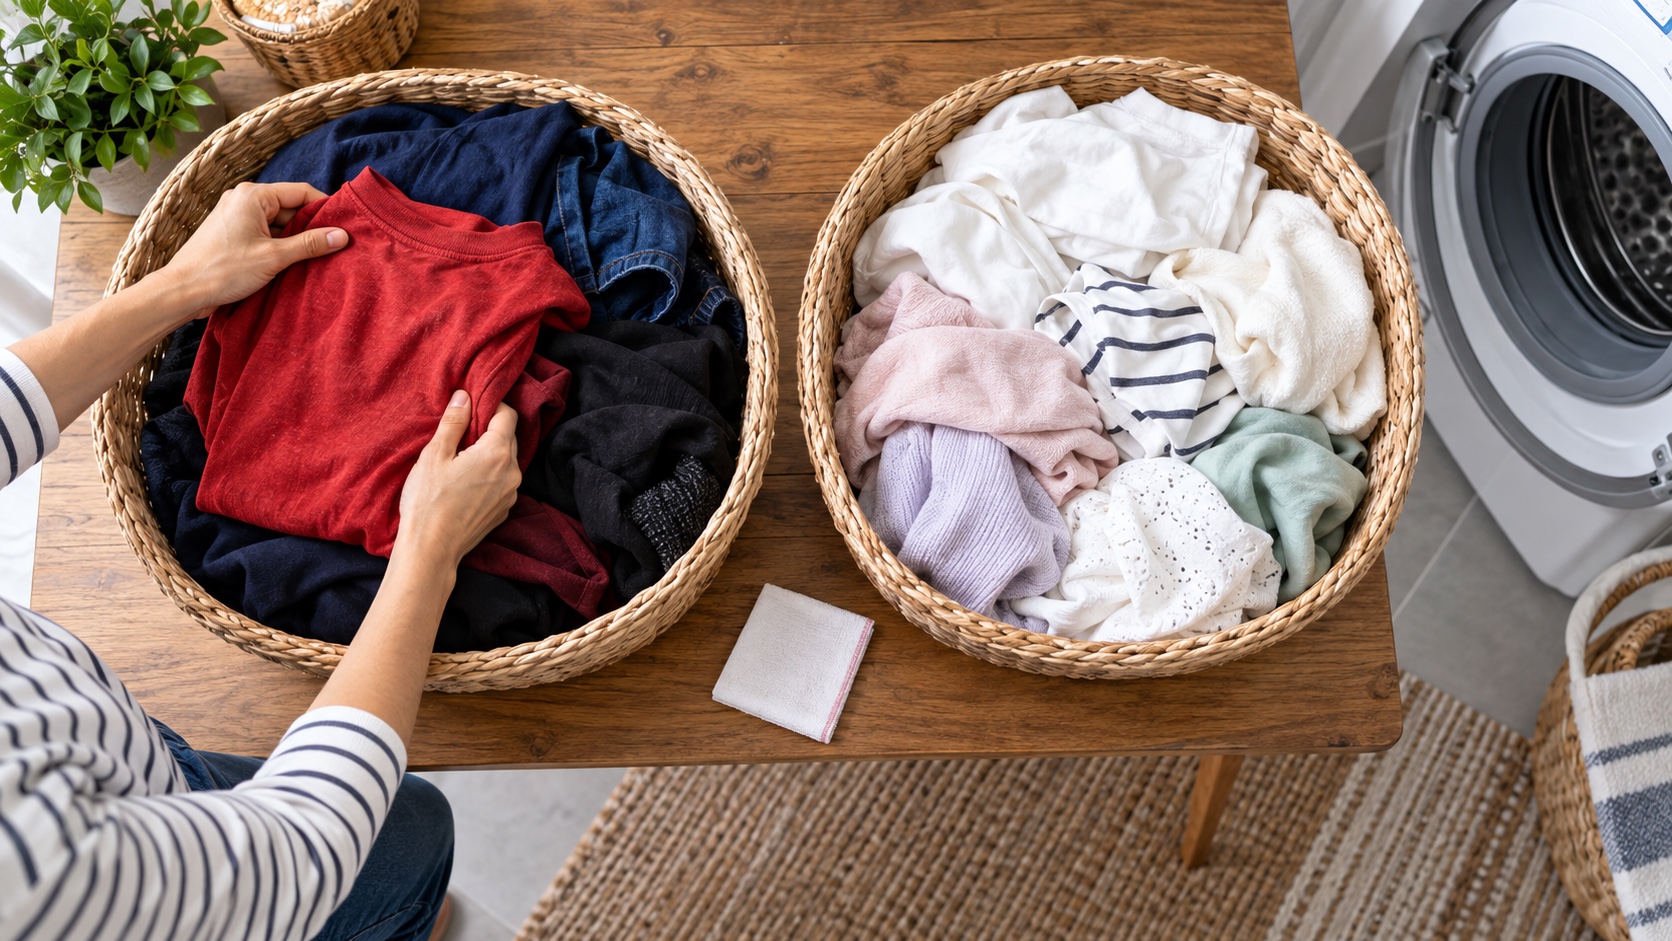
Best defense against color transfer: wash new dark denim, bright reds, and other saturated colors separately until you know how they behave. Follow “wash separately” or “wash with like colors” warnings, turn garments inside out when appropriate, and use the permitted water temperature. Cold water may reduce some dye loss, but it cannot guarantee that a poorly fixed dye will stay put.
A color-catcher sheet may collect some loose dye, but it is backup rather than permission to combine whites with a new red shirt. Vinegar is not a universal dye-setting solution. If transfer occurs, do not machine-dry the affected garment; check its label, treat promptly with a compatible color-safe product, and air-dry before inspecting it again.
4. Remove pet hair before the washer
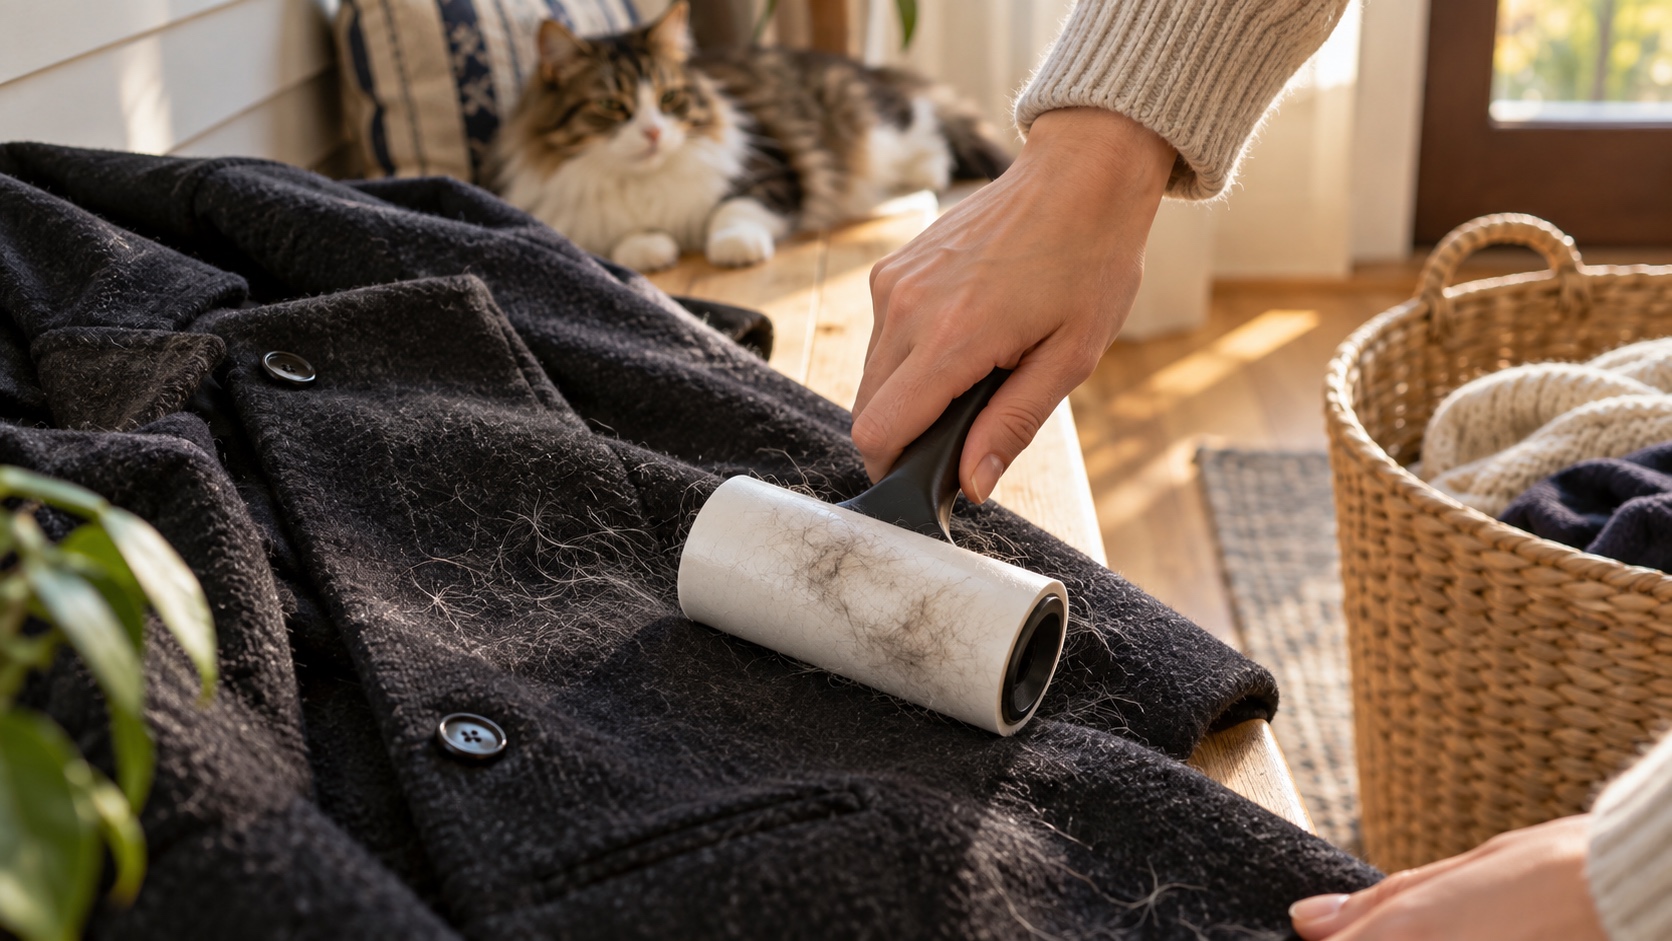
Best for pet households: shake garments outdoors when practical, then use a lint roller, garment brush, or slightly damp rubber glove on sturdy fabric before washing. Check pockets, fasten closures, and clean the washer or dryer lint filter as the appliance manual directs. A packed washer gives water and detergent less room to move soil and hair away.
Skip the folklore that half a cup of vinegar will reliably release pet hair in every machine. It is not a substitute for removing fur first, and washer manufacturers may caution against routine acid exposure to seals and hoses. For recurring appliance trouble rather than a hairy sweater, our appliance repair mistakes guide explains when to stop experimenting and check the manual or call a qualified technician.
5. Use the towel-roll method for hand-washable items
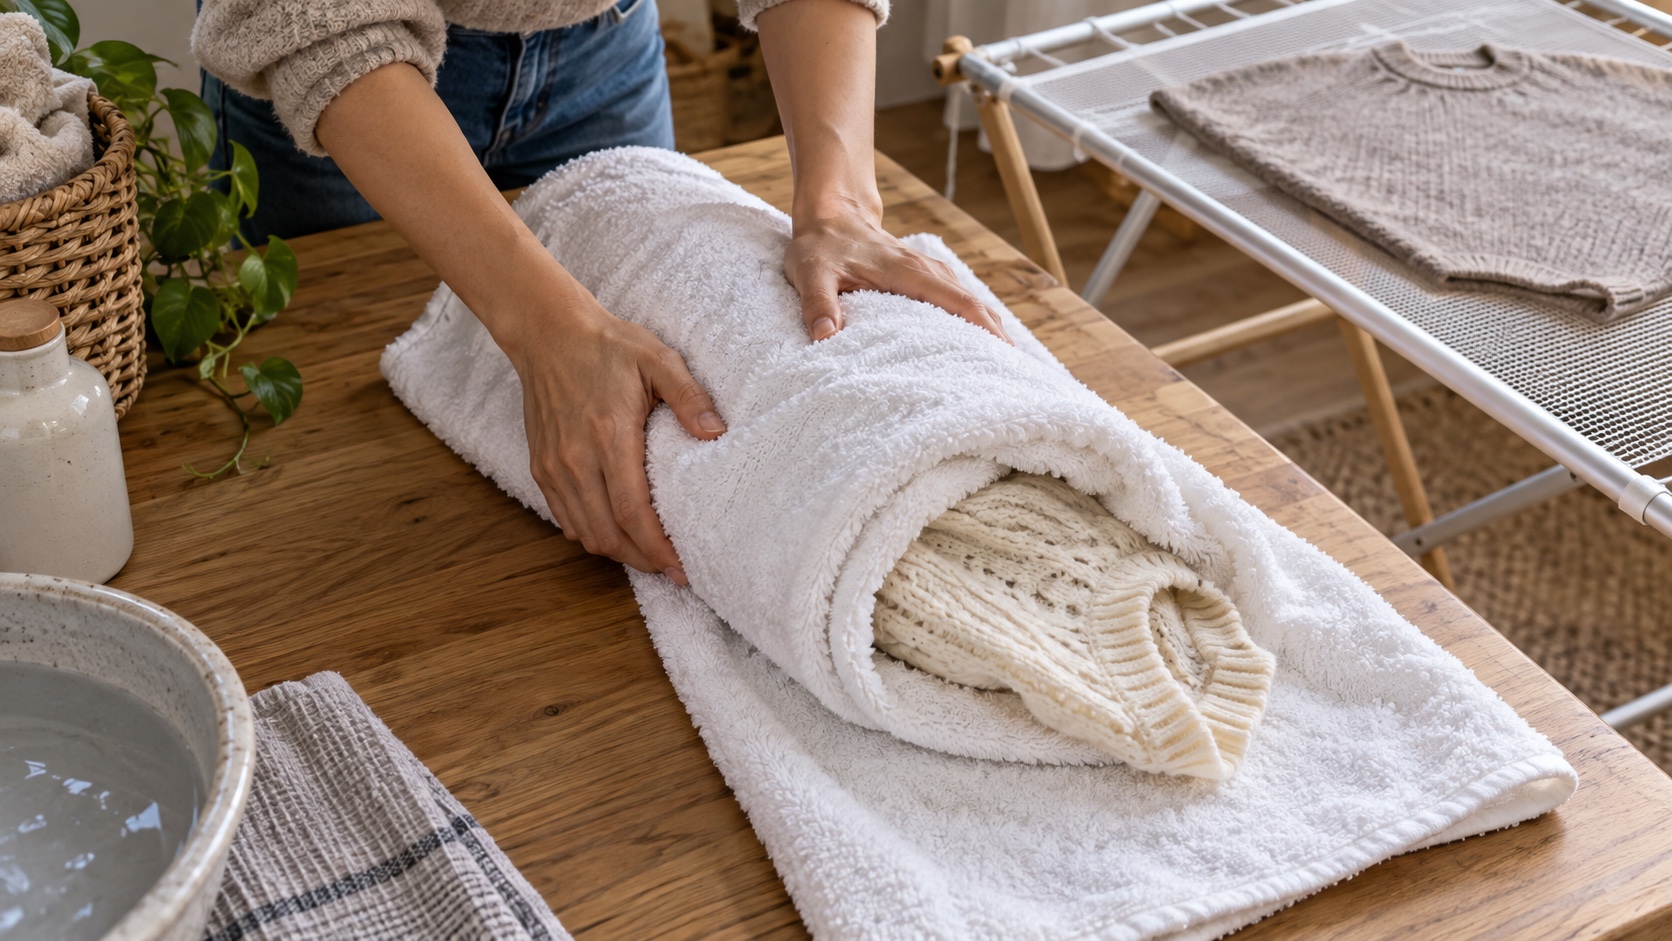
Best for: a hand-washable knit or other item whose label allows washing but not tumble drying. Lay a clean, colorfast towel flat, place the garment on it, roll the layers together, and press gently along the roll. Unroll, reshape the garment to its original dimensions, and dry flat or hang as directed.
The useful action is pressing, not twisting, striking, or wringing. Replace a saturated towel and repeat once if necessary. Heavy wet sweaters can stretch on a hanger, while embellished pieces may snag inside a tight roll; the fabric and construction still decide whether this method fits.
6. Stop static by avoiding overdrying
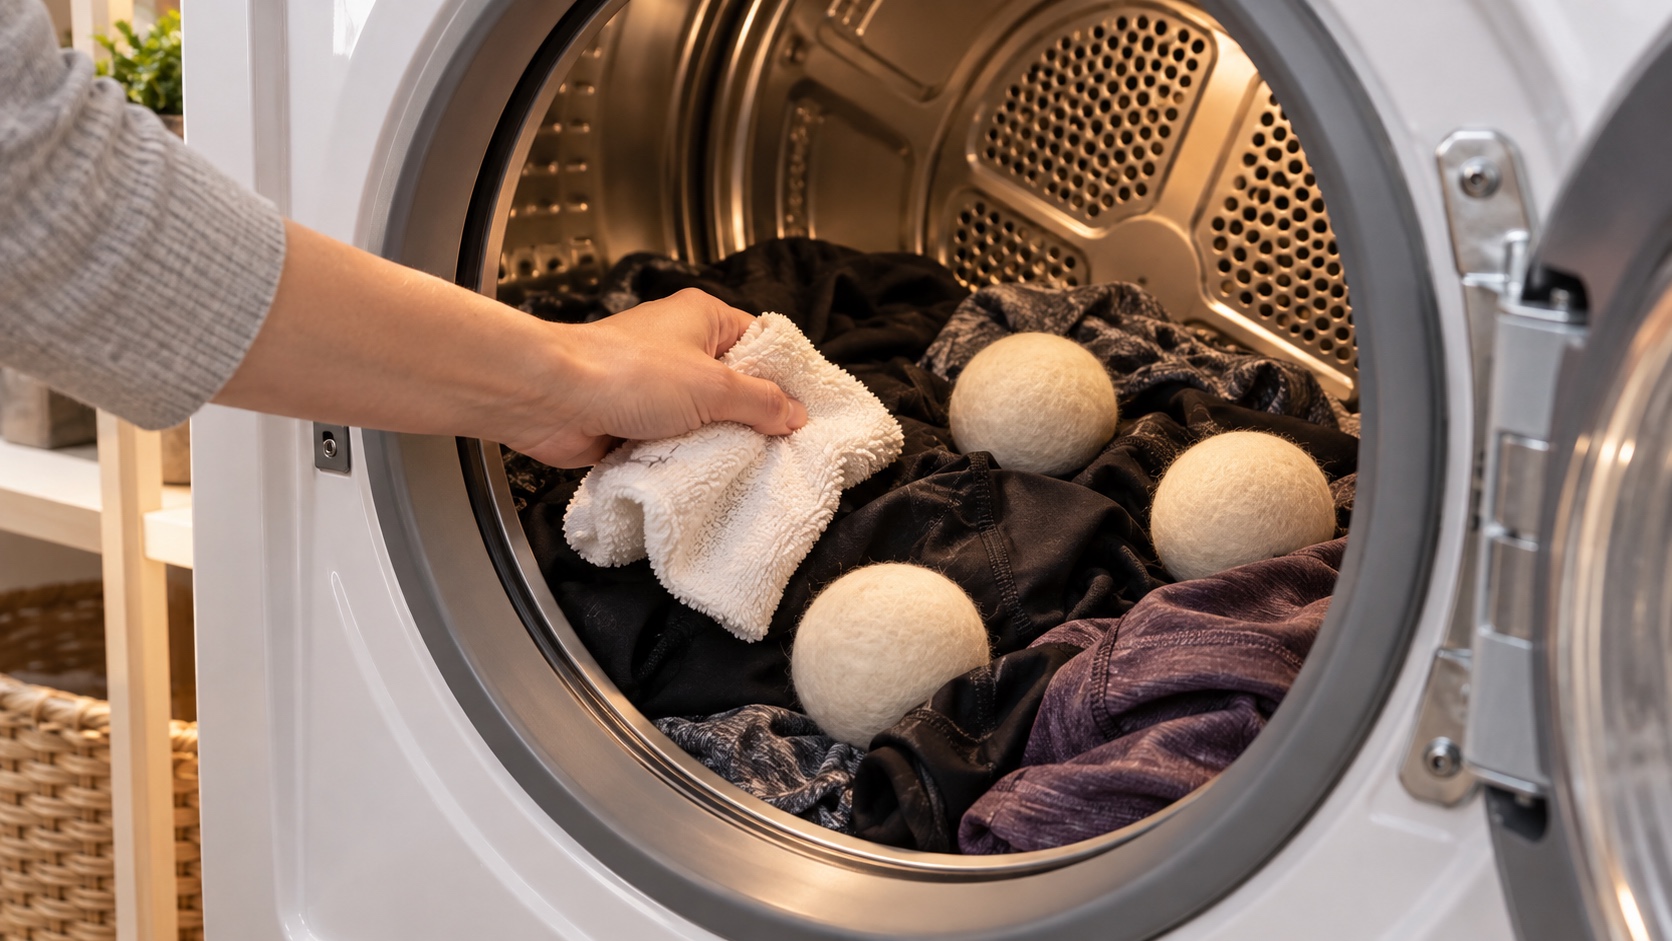
Best low-product solution: separate static-prone synthetics when practical and stop the dryer when the load is dry rather than running a long “just in case” cycle. A moisture sensor can help when it works correctly. For a small label-approved load, a clean slightly damp washcloth added near the end can raise humidity briefly; never reach into a moving dryer.
Wool dryer balls can help separate items, but they are not a universal fabric softener and may not eliminate static in every synthetic load. If you use a dryer sheet or rinse-cycle softener, follow the product and appliance directions. Some performance fabrics and towels have care instructions that discourage softener because it can affect their intended properties.
7. Treat odor at its source, not with perfume
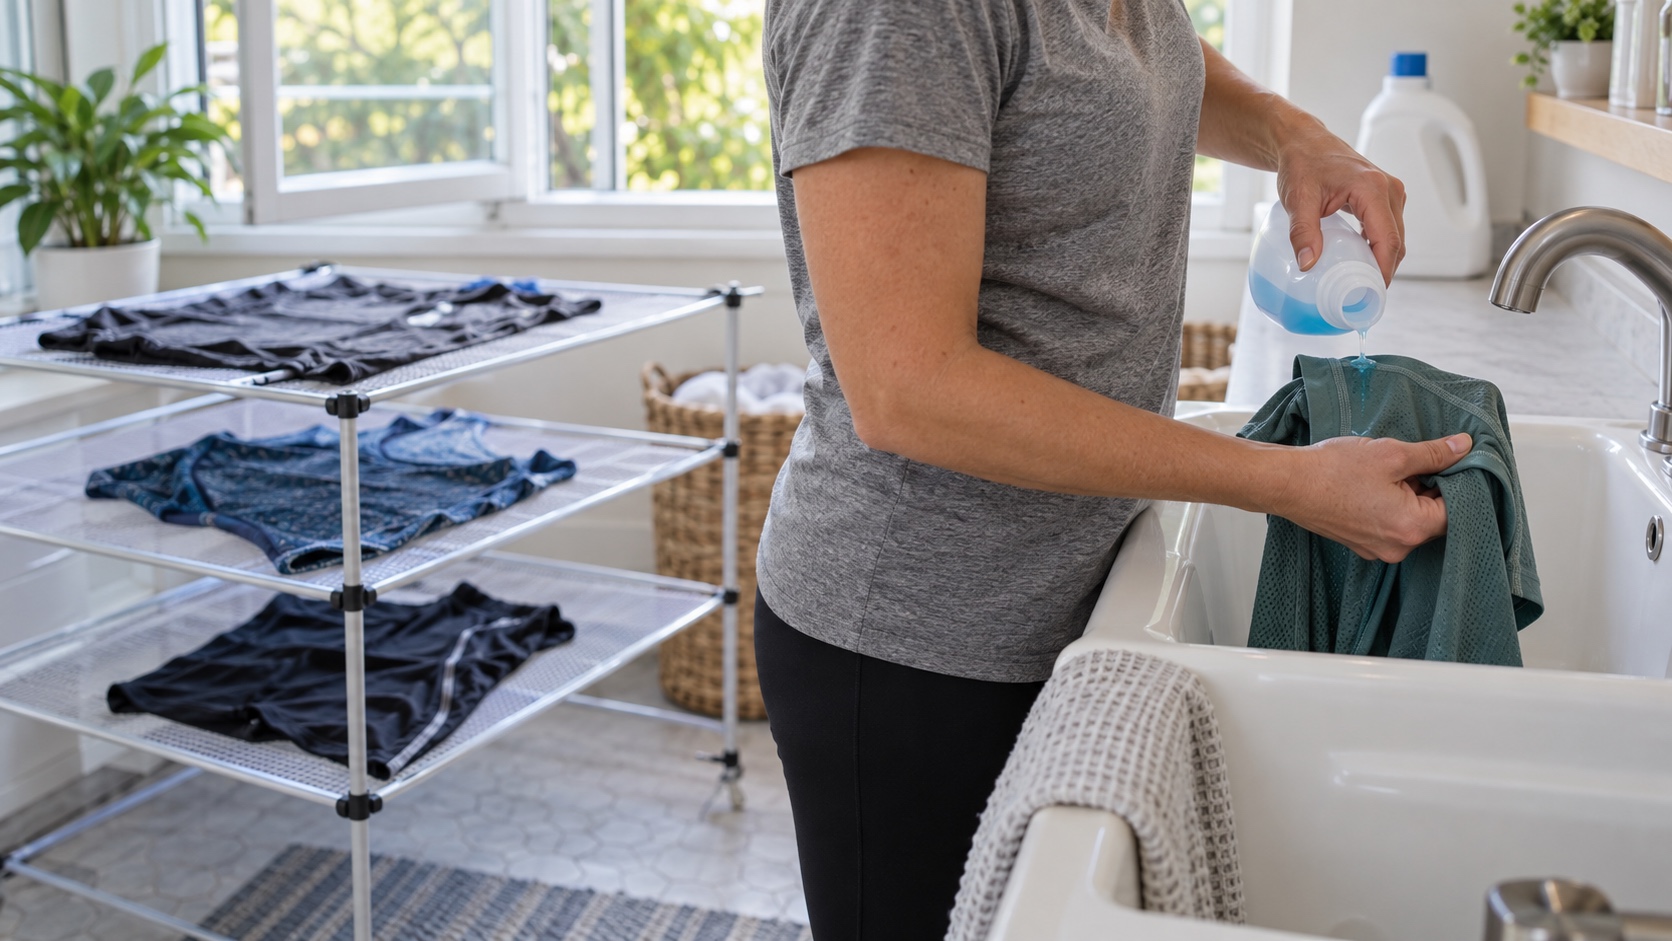
Best for: washable workout clothes, towels, and garments left damp too long. Let sweaty items dry before they sit in a hamper, pretreat odor-heavy areas with a compatible laundry product, and wash at the temperature the label allows. Leave enough room for movement, remove the load promptly, and dry it completely.
White vinegar and baking soda are not interchangeable magic deodorizers. Acid can affect some dyes, finishes, or elastic, baking soda may not dissolve under every condition, and vinegar used in the same step as detergent can reduce cleaning performance. Essential oil is fragrance, not proof that odor-causing soil is gone, and it should not be improvised as a dryer additive.
8. Pretreat the stain you have
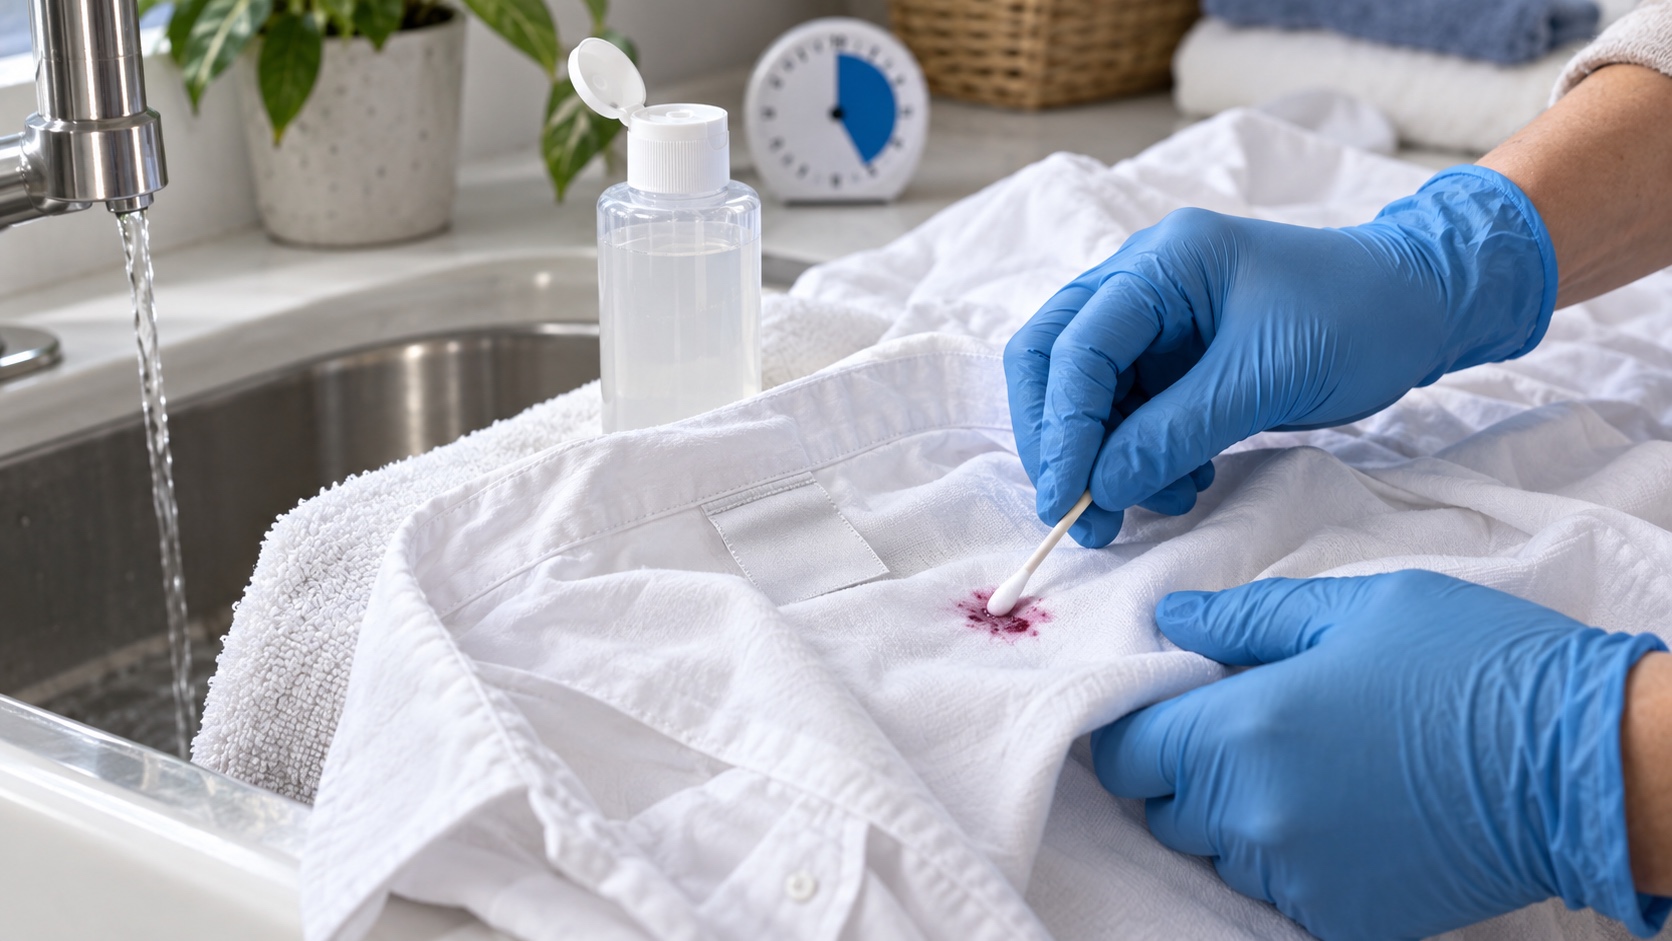
Best replacement for a homemade peroxide-and-dish-soap recipe: identify the stain, blot or scrape off the excess, rinse in the recommended direction and temperature, then use a label-approved prewash treatment or liquid laundry detergent. Dishwashing liquid is formulated for a different job and can create excess suds in a clothes washer. Hydrogen peroxide can change color, so it is not a universal two-to-one recipe for every fabric.
Work on one product at a time unless an authoritative method explicitly gives a combination. Pretest a hidden area, keep the treated patch small, rinse as directed, and never combine a stain treatment with chlorine bleach. Wash, then air-dry and inspect; dryer heat can make a remaining mark harder to remove.
9. Harden chewing gum before scraping
Best for: washable sturdy fabric with a blob of gum on the surface. Put ice in a sealed bag and hold it against the gum until it hardens. Lift the brittle material with a dull edge, working carefully so you do not cut, fuzz, or stretch the cloth. Pretreat any residue with a product approved for the fiber, then wash according to the label.
Do not smear warm gum deeper into the weave, and do not reach immediately for a solvent. Acetate, delicate finishes, dyes, and bonded details can react badly to improvised chemicals. If the item is dry-clean-only or valuable, point out the stain to the cleaner instead.
10. Blot red wine and keep heat away
Best first move: blot fresh wine with a clean white cloth, working from the edge toward the center. Rinse or sponge with cool water when the garment allows it, then pretreat with liquid laundry detergent or a commercial prewash product. Use only bleach that the care label permits.
A fixed “vinegar and water” formula is not right for every fiber. University of Georgia Extension includes a diluted detergent-and-vinegar soak among several methods, but it also requires a care-label check and colorfastness test. The universal part of the hack is prompt, controlled treatment—not the kitchen ingredient.
11. Use enzymes for washable grass stains
Best for: ordinary washable clothing when the label and product permit enzymes. Grass contains colored plant material and protein-like components that can be difficult to remove. Pretreat with an enzyme-containing laundry product or prewash remover, allow the labeled contact time, and wash at the garment's permitted temperature.
Do not rub aggressively; abrasion can damage the surface while spreading the mark. Check before drying and repeat if the label allows. Enzymes are not appropriate for every fiber, and chlorine bleach is safe only when both the garment and bleach label say so.
12. Start blood stains with cold water
Best for: a fresh blood stain on a washable item. Rinse from the back with cold running water, rub in liquid laundry detergent or use an enzyme presoak when compatible, rinse, and repeat. Heat can set a protein stain, so keep hot water and the dryer out of the process until the mark is gone.
University of Georgia Extension lists 3% hydrogen peroxide only as a later option for an old or stubborn stain, with a short contact time, thorough rinsing, a care-label check, and a hidden-area colorfastness test. That is very different from pouring an unfinished peroxide mixture onto any garment. For blood that may carry infection risk, use appropriate gloves and follow workplace or healthcare procedures rather than relying on a general household guide.
A laundry routine that beats a cabinet of hacks
- Read the care label and empty pockets.
- Sort by color, fabric needs, and soil level.
- Remove hair and excess solids before loading.
- Pretreat only with a compatible method.
- Measure the correct detergent for the machine and load.
- Choose the label-approved cycle and temperature.
- Remove promptly, reshape, and dry as directed.
- Inspect stains before applying dryer heat.
That sequence is less dramatic than a viral “natural solution,” but it is easier to repeat and harder to regret. When buying secondhand clothing, inspect fiber labels, seams, stains, and care demands before bringing the item home; our quality clothing checklist can help.
Sources and verification
Care-label requirements and warning logic were checked against the Federal Trade Commission's Care Labeling Rule guide. General sorting, pretreatment, detergent, static, and stain guidance was checked against the American Cleaning Institute's laundry basics and stain removal guide. Energy and moisture guidance was cross-checked with the U.S. Department of Energy's Energy Saver guide. Specific methods for wine, grass, and blood came from University of Georgia Extension. Chemical-mixing safety came from the CDC's bleach safety guidance. Sources were reviewed September 21, 2026.